Showing posts with label girls' sewing. Show all posts

Thursday, January 5, 2012

Junebug Dress Remix

A while ago I followed the Junebug Dress sewalong on Craftiness is not optional. I produced a cute ladybird summer dress for Mia, which you can see in the bottom 2 photos below. Project Run and Play is running a competition where readers can also enter their designs along with the blogging contestants. I have decided to attempt to enter a design in each of the 5 weeks, not because I think I will win, but because it is a good incentive!

One of the things I really wanted to make for the girls this winter are warm but dressy winter coats. I decided to use the Junebug dress as a starting point to create a little lined jacket for Ellie.


The striped outer material is a wool mix that I got from fabric-a-brac. The floral lining was $3 a metre from spotlight. I really like the combination of fabrics. I made it double breasted (1 row of buttons is just for show) like the original dress.

Here is Mia in the original Junebug dress and Ellie in her jacket:


It was hard work getting a semi-decent photo of a 10 month old who can't walk or crawl yet, but somehow manages to never stop moving, and a 3 year old who has a seriously awful fake smile!


Hopefully the jacket still fits Ellie in winter. I had fun making it and it was the first pattern I had really made up by myself!


Sunday, December 11, 2011

Pillowcase "twirling" skirt


With the countdown to Christmas on, I am trying to complete all my gift projects! When I asked my friend Susan what her daughter Skye (my god-daughter) needed, Susan said that she was really into "twirly" skirts. I found a good tutorial and a calculator on how long to cut each layer of the skirt which was really useful.


This is my second attempt, I didn't like the fabric combination of the first, but I really like this one which was made from fabric strips taken from 4 pillowcases. I intend on making Mia an identical one, but probably not until next summer.

Thursday, December 8, 2011

Lizzy Dress


Life has been quite hectic here, and finding time to blog let alone sew has been difficult! I finished this dress quite a while ago, but just got round to putting the buttons on. It is the same pattern as Mia's lollipop dress, minus the round pockets. The pattern is very easy to sew, and produces a really cute dress that is good for both summer, and over tights and a top in winter. If you haven't done much sewing then check out the ottobre website, its in the summer 2011 edition.


This one is for a friend's daughter's 2nd birthday. I really like the colour blocking of the teal and brown together, and Lizzy is such an olive little thing that I think she will look gorgeous in it!

Wednesday, November 9, 2011

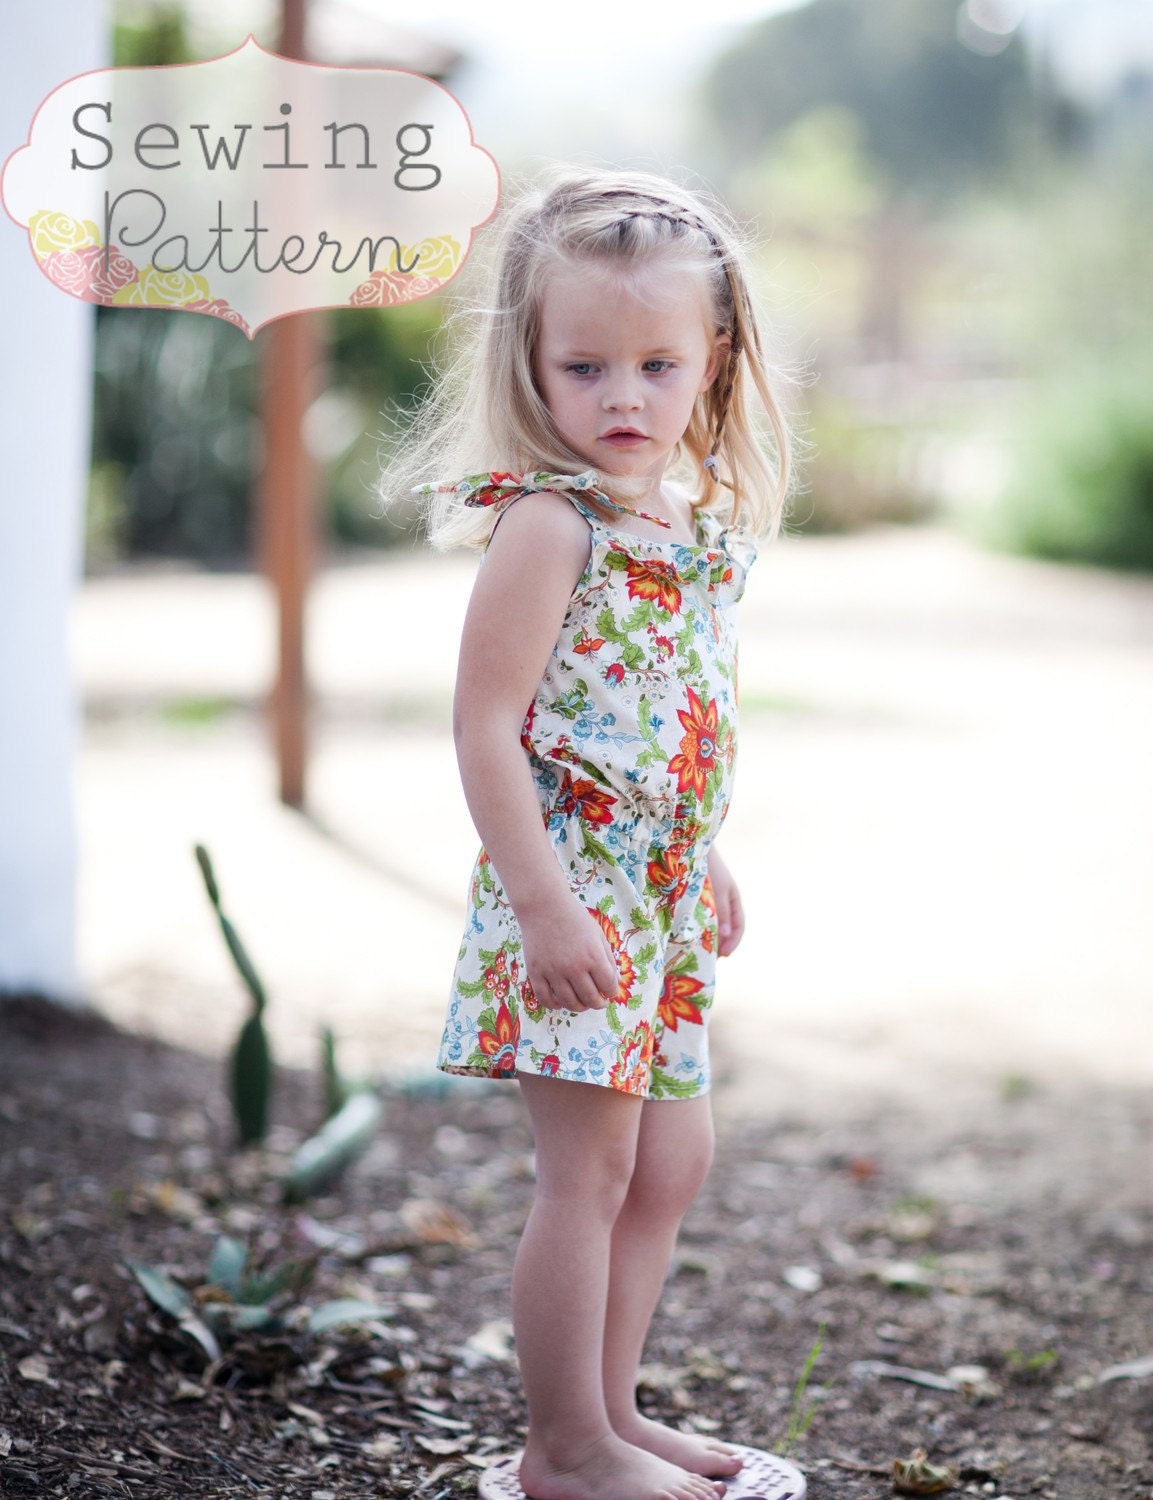
Rompers from a sheet!

Remember my vintage sheet collection? Well I finally made something from one of them, rompers from a pattern by sew sweet patterns. Aren't they cute? (Made even cuter by the model!)


The pattern was extremely easy to follow and make - probably took me about an hour of sewing. Highly recommend it. Don't you love the ruffle on the front?


There is still lot of this material left (I had 2 sheets), so get ready to see a bit of it. By the end of my sewing we will look like the von Trapp family (remember when Maria made them play clothes out of a curtain!) from Sound of Music!


Friday, October 14, 2011

KCWC: Day 4


This morning I finished the other two ruffle-bum onesies, and then started another assembly line: tights with hearts on them! I made Ellie a long pair with heart knee pads and then two short pairs with a heart on the bum. They look very cute on, especially the short ones which show her chubby cankles at their best. I had to eat them up they were so cute!

Wednesday, October 12, 2011

KCWC: Day 2


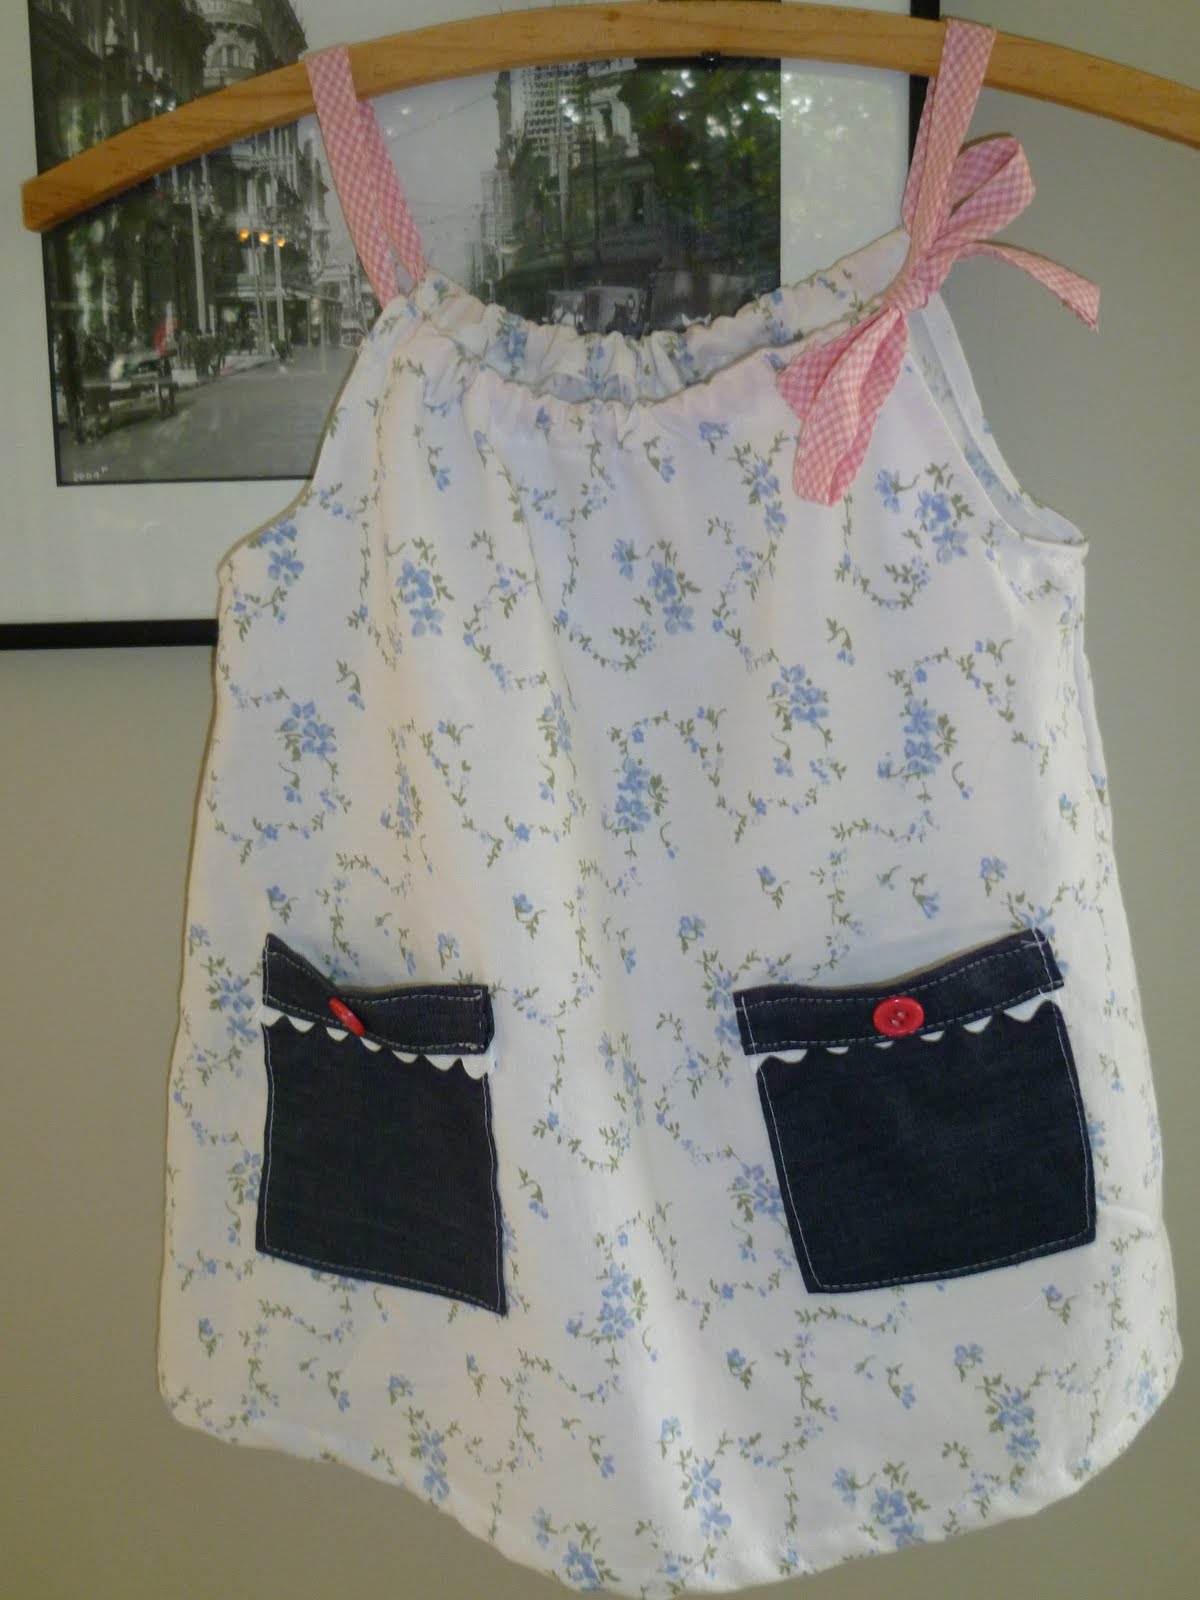
This top was not something I planned to make, it just kind of morphed into itself! I have had the vintage pillowcase for over a year, waiting to make something out of it and decided today that a top for Mia was what it was going to be!


I got a lot of inspiration from the blog Lover of Vintage, and have been wanting to make a pillowcase dress/top for ages. I love that it will fit Mia as a top until it is too short and then become a dress/tunic for Ellie! Probably could be both at the same time, first up, best dressed!


I also love the little ricrac/button pockets I made.


Tuesday, October 11, 2011

KCWC: Day 1


It should really be day 3, but I only started today! I intend to make up for it by carrying on into next week.


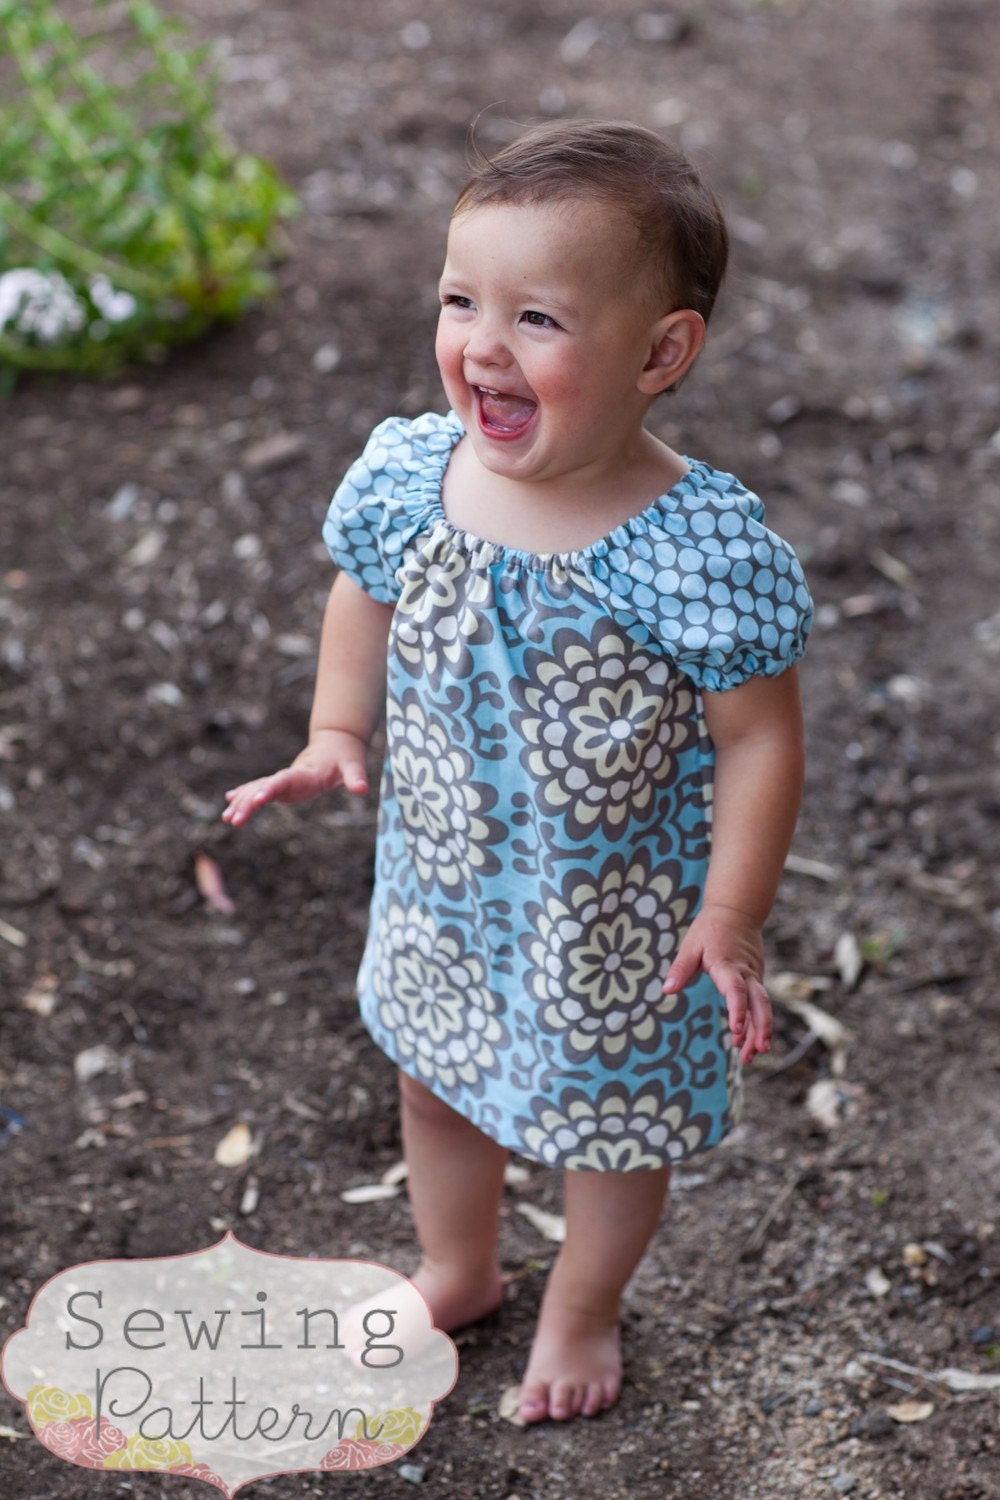
Today I made Mia a Janey Peasant Dress from my Sew Sweet Patterns that I bought last week.
I made it using some curtain type fabric I bought at Fabric-a-brac a couple of years ago. I have quite a lot of it, so it has made an appearance in previous clothes I have sewed for her. It was an extremely easy pattern to follow and to sew, and the whole thing took about an hour and a half from start to finish. Highly recommend it as a pattern to attempt if you are new to sewing. It is a bit on the short side and Mia isn't tall, so just remember that if you are sewing for your little lady.


I used some crochet flowers I made to embellish it, I was waiting for an opportunity to use some of them! I followed a really good youtube tutorial to learn how to make these.


And the reason there are no face shots of Mia in this dress? I was battling a major tantrum!

Wednesday, October 5, 2011

Sew Sweet Patterns

Not much sewing happened yesterday, had to have a catch up nap. Will probably have to have one today too! But here are some things I PLAN to sew!

I have far more girls' patterns than I could possibly use, so of course I had to buy more! I came across Sew Sweet Patterns on etsy and was impressed with both their range of patterns, and the range of sizes (6 months to 6 years) for each pattern. I have wanted to buy some for a while, and finally did yesterday. I received the PDF files by email yesterday and am excited to make them. Here is what I ordered:

Saffron Romper Pattern
I am excited to be making rompers for my girls and also some friends this summer. So cute! They aren't made yet, but they will be. I am imagining yellow polka dots for Mia (Ellie already has a yellow romper so not sure if I will make her one) and gingham and cherries for a friends' twins!


Janey Peasant Dress


Mia is is need of a between seasons dress so I am looking forward to making this, plus on all the blogs I read they are always making peasant dresses and tops so I am thinking this may be a go to pattern.


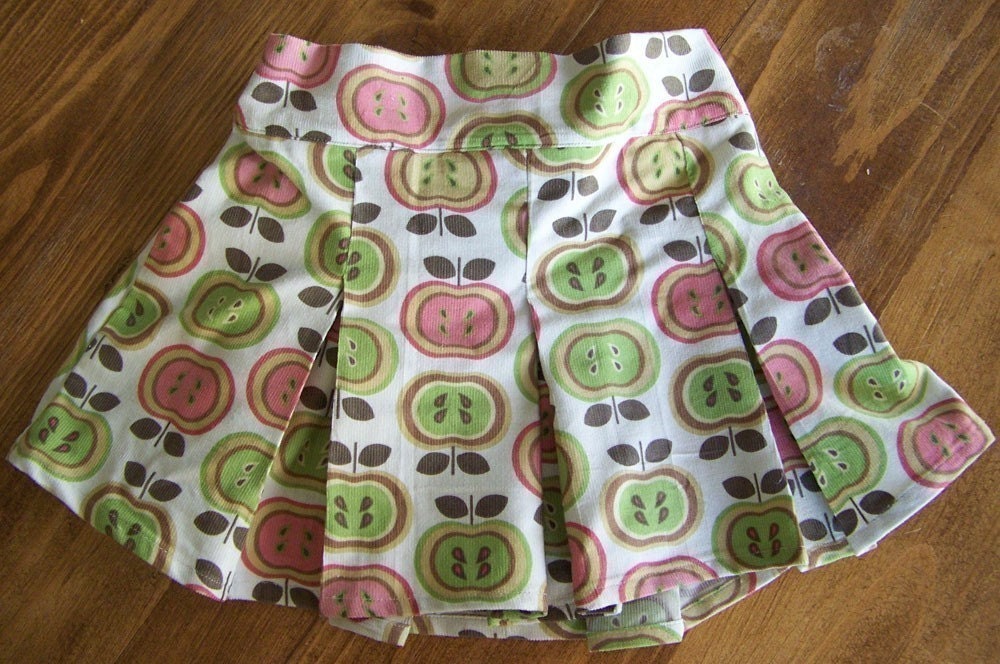
Sassy Pleated Skirt


Probably won't use this one until next winter but I am thinking matching wool skirts for my girls.


Will let you know how the patterns go.

Thursday, September 22, 2011

Summer Tank Top Tutorial


After trial and error (this started off as a top for me, but I made it too big, then too small, then it became a top for Mia!) I have figured out a tutorial for this top that works for child or adult! So here goes:

You will need:
A metre of fabric for an adult, less for a child
Matching thread
1cm wide elastic

1. Measure whoever the top is for. You will need 2 measurements. Around the hips and from underarm to hip.

2. Cut out your fabric. You will need 2 squares that measure

Half of hip measurement plus 10cms (child) or 20 cms (adult) and measurement from underarm to hip plus 5cms

e.g: If you are making it for a child that is 64cms around the hip and 30cms from underarm to hip, each of your squares (or rectangles if you want to be picky) will be 42cm x 35cms.

You will also need 2 straps that are 4cms by enough length to hold the top up.

3. Sew your 2 squares together, right sides together, on both sides.

4. Fold under and press 2cms at the bottom (hem) and 3cms at the top (for elastic). You will either need to overlock edges to stop fraying or fold under a little bit so raw edge isn't exposed.

5. Sew these, leaving a gap in the top to insert elastic.

6. Put elastic around chest under arms and cut so that it is firm but not so tight it is uncomfortable.

7. Insert elastic and stitch ends together and stitch where you have inserted it closed.

8. Overlock edges of straps. Fold in 3, press, and top stitch to hold it together. Pin these to underside of top in correct place to hold top up, with overlocked edges to bottom. Stitch 2 lines of stitching on either end of both straps to hold it in place.


All done! Wasn't that easy! Now wait for some sun to wear it in!

Wednesday, September 21, 2011

Summer Outfit


With summer approaching I am trying to make some cute outfits for my girls. Today I produced this. I am pretty happy with it, as is Miss Mia. Even though it is freezing she refuses to take it off!

With the shorts I used a pattern from an Ottobre, a very basic pair of shorts and modified it using this tutorial . The top I made up myself, tutorial following. It was very simple, showcasing the cute fabric that I got in a Spotlight sale. The whole outfit was very simple to make.


Now we need some nice weather so she can wear it outside of the lounge with the heatpump on!

Friday, September 2, 2011

Double bows and ruffles


The first of the second antenatal babies (if that makes sense!) had her first birthday party today. I wanted to sew all the second babies (who are mostly girls) something special to show that they are just as special as our firsts. I decided on a pattern in the Summer 2011 Ottobre and started to make it from some cute link pink seersucker material. Only issue was it was a bit small, so Ellie gets that one! So then I had to sew another dress and pants set in blue broderie anglaise for the birthday girl!


I am pretty proud of them! They are fully lined and the ruffles are so cute!

Wednesday, July 27, 2011

Junebug dress sew-a-long


My favourite blog craftiness is not optional recently had a sew along, the Junebug dress. I followed along and made Mia one in ladybird material. I think it is pretty cute, but she will have to waiy until summer to wear it!

Monday, July 4, 2011

Easiest skirt ever from an old pair of jeans

I have a few pairs of old jeans lying round that had been waiting for a use, so I found this tutorial on a very cool blog site and got to work. It took me very little time, half an hour max I would say from start to finish. I added the hearts by cutting the heart shapes out, inserting some fabric behind it and sewing round the heart. Voile!


The only issue is I did it while Mia was at daycare, and the skirt is way too big!!! Will have to wait a year or two before she can wear it without looking ridiculous!

Ottobre Jacket - very easy pattern!

It has been pretty cold here recently, it is the middle of winter after all and we had a warm start to it, so the cold weather was a bit of a shock. To keep Mia warm I wanted to make an easy jacket, fleece lined with merino knit. I found a really easy ottobre pattern and this was the result:


I am pretty pleased with it, and also with the little "badge" that I used to decorate it. Its from the 4/2010 edition if you want to make it.

Thursday, June 9, 2011

Man's shirt to girl's dress: Finishing

So once my dress looked like a dress I added some finishing touches.


1. I put bias binding around the neck. Obviously you can buy this, but it is pretty easy to make. MADE has a tutorial. You can also find how to put it on in this blog too.


2. I put material around the waist to run a ribbon through. I got M to put it on so I could mark her waist, I then got a strip of material 6cms wide (4cms for the ribbon and 1cm to fold under on each side). I ironed 1cm under on each side and then pinned it onto the dress. Don't forget to pin it on with the buttons done up so that you can work out where to finish so that you can tie the ribbon. I didn't the first time and my band went under the button strip so I couldn't do it in a bow and I had to do some unpicking.


3. Stitch the band on close to the edges.


4. Run some ribbon through by putting a safety pin on one end and feeding it through.


5. Hem it. I folded 1 cm under and ironed, then 2cms and ironed again to make a neat non-frayable edge.


I am very proud of the end result, even if it is very summery and its wet and cold here!

Girl's dress from Men's shirt - sewing together

So once I had my dress pieces I had to sew them together. It was pretty simple. This is what I did:

1. Stitch the front and back together at the shoulders, right sides together, using zig zag.


2. Sew large straight stitches in the top and bottom of the sleeves, which I used to gather them.


    3. Gather the top of the sleeves to fit the arm holes and sew them on, right sides together using zig zag.


    4. Cut straight bands to fit around M's arms from the sleeves. Make sure they aren't too tight! I then ironed these in half and gathered the bottom of the sleeves to fit the bands and stitched them together using zig zag again. Give them an iron so they look good.


    5. Stitch up the sides and the bottom of the sleeves using zig zag.


    6. All joined together, now you just need to add the finishing touches!!


Wednesday, June 8, 2011

Upcycling men's dress shirt to girl's dress: Step 1 making a pattern

I am very proud of myself! I have made a pattern and a dress from scratch! And I think it looks pretty good! I got a large part of my inspiration from 2 blogs that I love, MADE and Craftiness is not optional. I will not be afraid to try this kind of thing again!


1: Get a man's dress shirt. I bought a really large one with nice purple and blue stripes from an op shop.


2: Make a pattern. I used a T-shirt of M's to trace around to create the bodice and then continued it down to make a dress. I made it way too long and had to trim the dress a lot! I made the front neck dip down and the back quite straight. I also made sure I added a 1 cm seam allowance and about 3cms for the hem I then made the sleeves, making them a bit too wide for the dip in my bodice so that I could gather them a bit.


3: Cut it out. I cut the sleeves from the sleeves of the shirt, the back from the back, and the front from the front, preserving the buttons because putting my own on would be way too much like hard work!!


Sunday, May 15, 2011

Ric-rac and ruffle T-shirts


Here are T-shirts 3 and 4. I sewed ric-rac onto 1, it was supposed to be for M but it ended up being too small so will put that one aside for a gift. With the other I cut thin strips of fabric and ran wide stitching up the middle and gathered it. I left the edges frayed for a rock star look and stitched them down the centre onto the T-shirt. I then un-did the original running stitch. Not sure how long the ruffles will survive the washing machine, but they look cool for now!

Friday, May 13, 2011

Mia's Flower T-shirt


OK this one is a bit of a cheat as I had already made the badge, but the singlet I made it for is too small for M so I decided to re-use it for one of my 5 T-shirts. The reason I put this on a safety pin badge is because it is hand sewn and has raw edges so wouldn't successfully survive the washing machine, so this way you can detach the badge and watch the T-shirt. All I did was get a strip of material and put handsewn running stitch through one edge and tighten it to make the material curl up then tie a knot. I then sewed the button on the front and a safety pin on the back. There are lots of tutorials on the net to make flowers of various sorts. Here are some:


Do a search and you will find a lot more!