Showing posts with label Upcycled. Show all posts

Wednesday, October 12, 2011

KCWC: Day 2


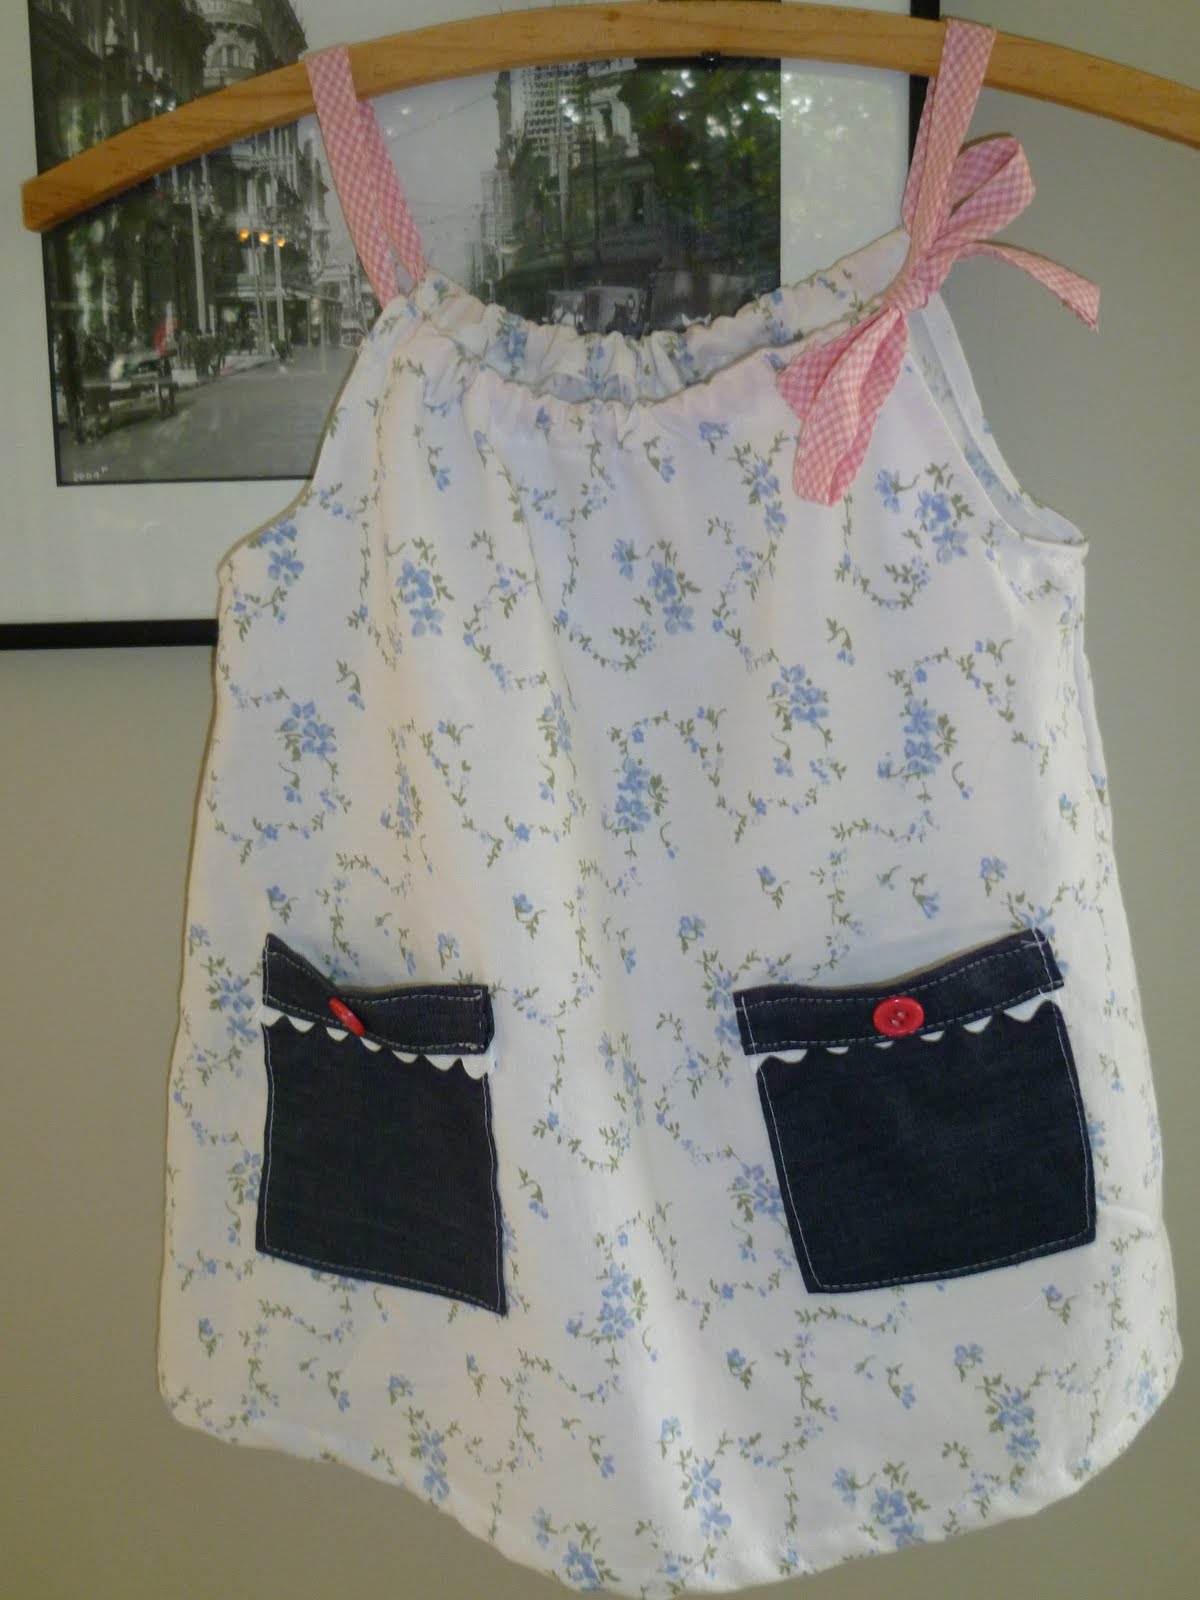
This top was not something I planned to make, it just kind of morphed into itself! I have had the vintage pillowcase for over a year, waiting to make something out of it and decided today that a top for Mia was what it was going to be!


I got a lot of inspiration from the blog Lover of Vintage, and have been wanting to make a pillowcase dress/top for ages. I love that it will fit Mia as a top until it is too short and then become a dress/tunic for Ellie! Probably could be both at the same time, first up, best dressed!


I also love the little ricrac/button pockets I made.


Monday, July 4, 2011

Easiest skirt ever from an old pair of jeans

I have a few pairs of old jeans lying round that had been waiting for a use, so I found this tutorial on a very cool blog site and got to work. It took me very little time, half an hour max I would say from start to finish. I added the hearts by cutting the heart shapes out, inserting some fabric behind it and sewing round the heart. Voile!


The only issue is I did it while Mia was at daycare, and the skirt is way too big!!! Will have to wait a year or two before she can wear it without looking ridiculous!

Thursday, June 9, 2011

Man's shirt to girl's dress: Finishing

So once my dress looked like a dress I added some finishing touches.


1. I put bias binding around the neck. Obviously you can buy this, but it is pretty easy to make. MADE has a tutorial. You can also find how to put it on in this blog too.


2. I put material around the waist to run a ribbon through. I got M to put it on so I could mark her waist, I then got a strip of material 6cms wide (4cms for the ribbon and 1cm to fold under on each side). I ironed 1cm under on each side and then pinned it onto the dress. Don't forget to pin it on with the buttons done up so that you can work out where to finish so that you can tie the ribbon. I didn't the first time and my band went under the button strip so I couldn't do it in a bow and I had to do some unpicking.


3. Stitch the band on close to the edges.


4. Run some ribbon through by putting a safety pin on one end and feeding it through.


5. Hem it. I folded 1 cm under and ironed, then 2cms and ironed again to make a neat non-frayable edge.


I am very proud of the end result, even if it is very summery and its wet and cold here!

Girl's dress from Men's shirt - sewing together

So once I had my dress pieces I had to sew them together. It was pretty simple. This is what I did:

1. Stitch the front and back together at the shoulders, right sides together, using zig zag.


2. Sew large straight stitches in the top and bottom of the sleeves, which I used to gather them.


    3. Gather the top of the sleeves to fit the arm holes and sew them on, right sides together using zig zag.


    4. Cut straight bands to fit around M's arms from the sleeves. Make sure they aren't too tight! I then ironed these in half and gathered the bottom of the sleeves to fit the bands and stitched them together using zig zag again. Give them an iron so they look good.


    5. Stitch up the sides and the bottom of the sleeves using zig zag.


    6. All joined together, now you just need to add the finishing touches!!


Wednesday, June 8, 2011

Upcycling men's dress shirt to girl's dress: Step 1 making a pattern

I am very proud of myself! I have made a pattern and a dress from scratch! And I think it looks pretty good! I got a large part of my inspiration from 2 blogs that I love, MADE and Craftiness is not optional. I will not be afraid to try this kind of thing again!


1: Get a man's dress shirt. I bought a really large one with nice purple and blue stripes from an op shop.


2: Make a pattern. I used a T-shirt of M's to trace around to create the bodice and then continued it down to make a dress. I made it way too long and had to trim the dress a lot! I made the front neck dip down and the back quite straight. I also made sure I added a 1 cm seam allowance and about 3cms for the hem I then made the sleeves, making them a bit too wide for the dip in my bodice so that I could gather them a bit.


3: Cut it out. I cut the sleeves from the sleeves of the shirt, the back from the back, and the front from the front, preserving the buttons because putting my own on would be way too much like hard work!!