Sunday, October 30, 2011

Christmas Decoration Swap: Bunting and garlands

If you haven't already, sign up for the Christmas ornament swap I am organising with my two blogging friends a green and sometimes blue life and Holly Made. Check their blogs out to get some inspiration!
It can be a little overwhelming checking out all the amazing ideas online, but don't feel you have to make something that belongs in an expensive gift shop. The idea is to have fun creating something, especially as most of us participating have little kids and are pretty time poor!
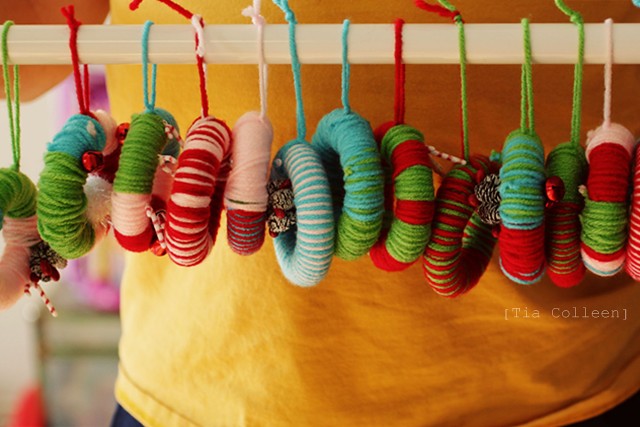
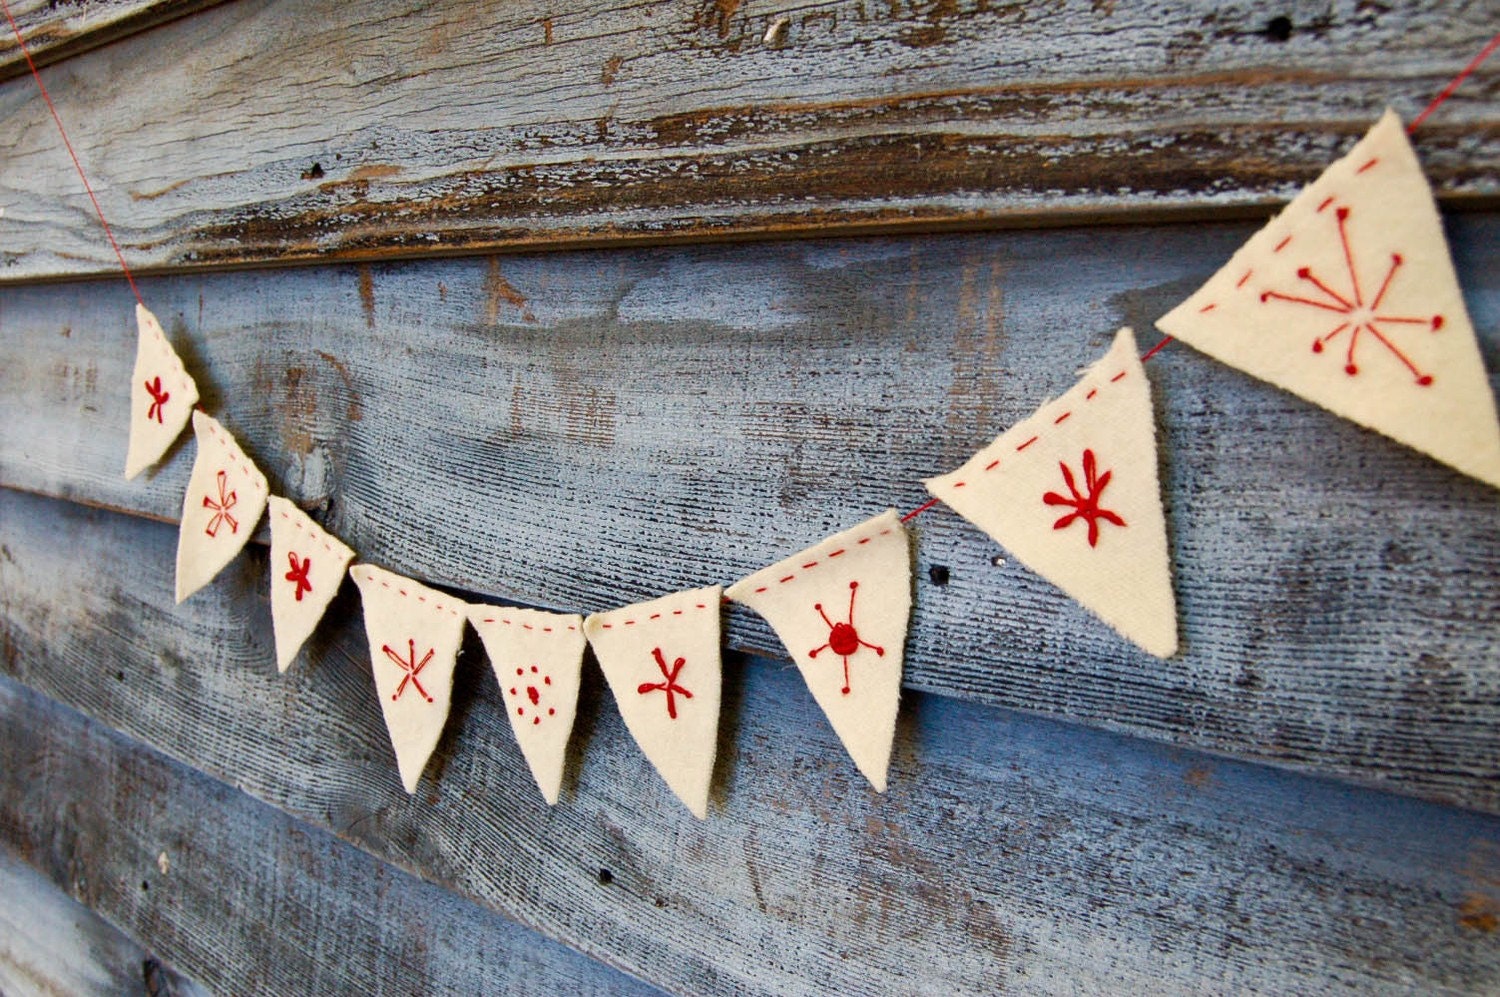
At the moment I am loving bunting and garlands. It would be something easy (although a bit time consuming) to make for the Christmas tree. Here are some of the ideas I have found on line:


  • Use this idea to make bunting from old Xmas cards on Baby Gardner
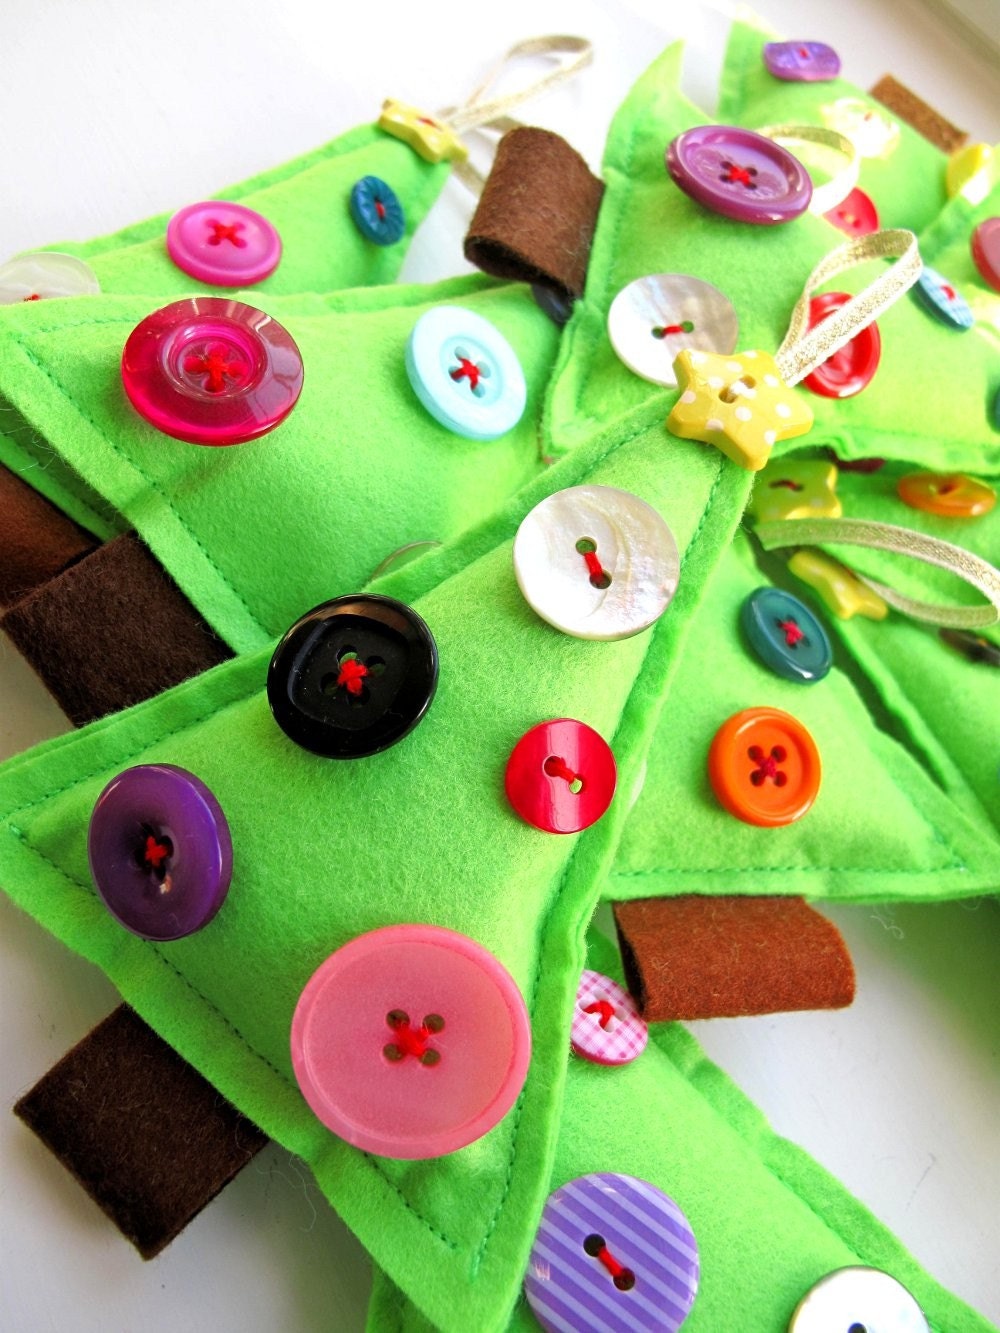
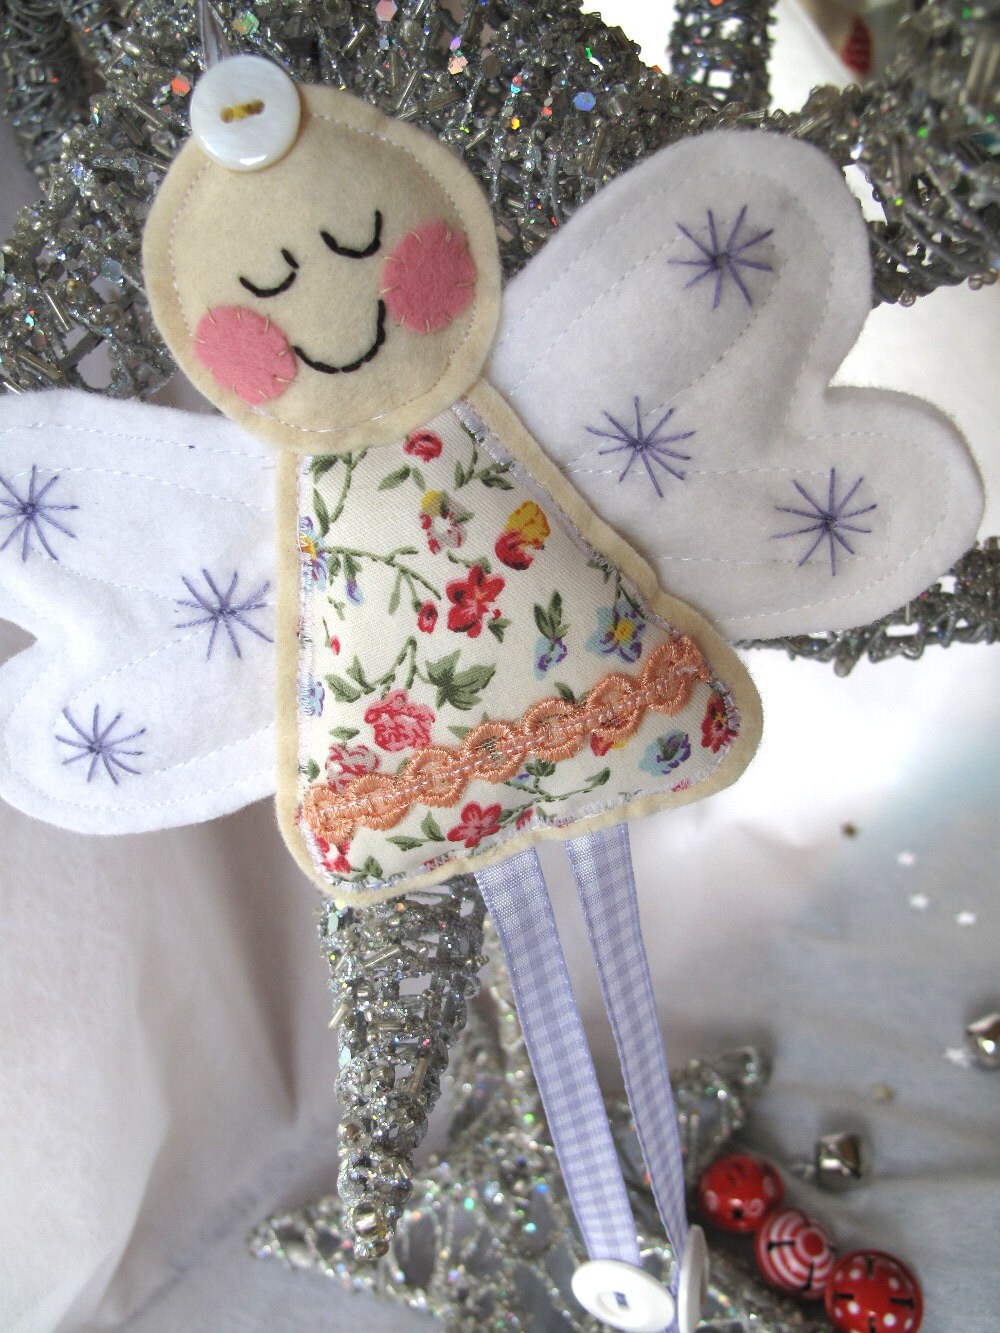
  • Christmas Bunting from etsy:
Actually pretty much any Xmas decoration could be made into a garland, you just need to make lots of them and string them up! I am really looking forward to seeing what everyone makes!!

Friday, October 28, 2011

Me, a movie and a great big, chocolate nut icecream!!

Guess where I have just been? To the movies, by myself, no children! That is the longest time I have ever had away from Ellie I think and she is 8 months old in a couple of days. I haven't been posting very much over the last week or so as I am at my Mum and Dad's house and haven't had much opportunity for sewing. I have been pinning a lot on pinterest and cutting out bunting triangles, but that is about it.
So what did I see at the movies, and why am I posting about watching a movie? Well I went to see Midnight in Paris, but basically it could have been any movie that required a little bit of
concentration and background general knowledge to understand.
While I was in the theatre and they were talking about writers such as Ernest Hemingway, T.S Elliot and F. Scott Fitzgerald I was reminded that I had read all these writers (mostly for English papers) and enjoyed them. They also talked about artists such as Picasso and Dali (not a fan) and I was reminded that I had been to various art galleries in Europe in a previous life and seen their paintings. The 1920s Paris some of the film was based in made me want to recreate their costumes and decor, and also helped to inspire some creative possibilities.
The point I am trying to make is that it is amazing how much it can inspire and help your creativity when you take some time out from your kids and watch/read/look at something inspiring. We don't get to do it very often and it makes you appreciate it all the more!
So now I am off to create beaded flapper dresses! Just kidding, but maybe sometime soon!

Wednesday, October 19, 2011

Ellie is as cute as a button!


Isn't she!? So cute that Mia and I had to make her an appropriate name sign. We have had the letters since she was born, and this week I finally got round to doing something with them. Mia (with a little help from me) painted them light blue, and then I glued lots of colourful buttons on them. Now they just need to make it on to her wall, hopefully that won't take another 7 months!


101 christmas ornaments link and ornaments for kids to make

I have had a few "yes's" to the Xmas ornament swap. but who else is keen? Good small scale way to get those creative juices flowing! Here is a link to 101 christmas ornaments you could make.

Here are some ornaments that would be good to make with kids:

- that artist woman: Orange pomander

- Curbly: Borax crystals (probably older kids!)

- Toilet paper lanterns


- Meet the dubiens fimo snowflakes


- The crafty crows weaving decorations


- Felt and sticker Xmas trees from parent.com (also has others)


Store these away to make with your kids on the build up to Xmas! Or make them yourself for the ornament swap!

Tuesday, October 18, 2011

Owl Tag Toy


This was my other project when the overlocker ran out of thread during KCWC. I made 3 of them for assorted babies, including my own. Here is the owl in action being played with:


Ellie loves playing with the tags of clothes at the moment, so this toy is perfect. Here is how to make it:

You will need: Scraps of fabric and fleece, felt, different colours and sizes of ribbon, thread, iron on interfacing, double sided fusible web, PVA glue, a ring to hang the toy on a baby gym (you can get these from lots of baby stores in big packets)

Here is what to do:


1. I sketched an owl picture to use as a pattern:


2. I then used this to cut the following:


- A front out of cotton


- A back out of fleece


- 2 sets of 3 circles for eyes from felt - biggest from white, middle from brown and middle from black


- 1 beak out of felt


- 2 wings
- 8 pieces of a variety of ribbon, all measuring 10cms long


3. I used double sided fusible web (you can get this from craft and patchwork stores, just explain to them what you want it for) to fuse the wings to the owl. You need to iron it to the wings, then peel it off the back and fuse the wings to the body. Either ask the shop to explain to you how to do it, of look up an internet tutorial. I recommend putting grease proof paper over it when you are doing any ironing, to avoid it coating the iron! I then fused iron on interfacing to the back of the front, to make it a bit stiffer and less floppy.


4. I then used glue to temporarily stick the eyes and beak to the owl's front. You could use the double sided fusible web, but I just wasnt sure about how hot temperatures the felt could stand and how much wool was in it vs synthetics. You need to be careful with the glue though so you don't use too much and make a big mess!


5. I then hand sewed the eyes and beak to the owl, as they were too little to do a neat job of with the sewing machine.


6. Next I pinned the fleece back to the front, sandwiching the ribbons between and making sure I pinned each of them so that they wouldn't come out before I stitched around the outside.


7. I then stitched around the outside of the owl, catching all the ribbons securely and also top stitching around the edges of the wings to avoid them coming off. As this is a baby toy, its really important to ensure that everything is going to be securely attached and won't come off and choke the baby!


8. Put a ring through the top and you are ready to go!!

Friday, October 14, 2011

KCWC: Day 4


This morning I finished the other two ruffle-bum onesies, and then started another assembly line: tights with hearts on them! I made Ellie a long pair with heart knee pads and then two short pairs with a heart on the bum. They look very cute on, especially the short ones which show her chubby cankles at their best. I had to eat them up they were so cute!

Thursday, October 13, 2011

KCWC: Day 3


Today I attempted to make 3 ruffle bum onesies with hearts on them. One for Ellie, and a couple for babies that are arriving in the next couple of months. I got Ellie's done, and don't have much to do on the other two. It is very cute I think. As is the buba wearing it! I will write a brief tutorial when I have made all three and have time to breathe.

Wednesday, October 12, 2011

KCWC: Day 2


This top was not something I planned to make, it just kind of morphed into itself! I have had the vintage pillowcase for over a year, waiting to make something out of it and decided today that a top for Mia was what it was going to be!


I got a lot of inspiration from the blog Lover of Vintage, and have been wanting to make a pillowcase dress/top for ages. I love that it will fit Mia as a top until it is too short and then become a dress/tunic for Ellie! Probably could be both at the same time, first up, best dressed!


I also love the little ricrac/button pockets I made.


Tuesday, October 11, 2011

KCWC: Day 1


It should really be day 3, but I only started today! I intend to make up for it by carrying on into next week.


Today I made Mia a Janey Peasant Dress from my Sew Sweet Patterns that I bought last week.
I made it using some curtain type fabric I bought at Fabric-a-brac a couple of years ago. I have quite a lot of it, so it has made an appearance in previous clothes I have sewed for her. It was an extremely easy pattern to follow and to sew, and the whole thing took about an hour and a half from start to finish. Highly recommend it as a pattern to attempt if you are new to sewing. It is a bit on the short side and Mia isn't tall, so just remember that if you are sewing for your little lady.


I used some crochet flowers I made to embellish it, I was waiting for an opportunity to use some of them! I followed a really good youtube tutorial to learn how to make these.


And the reason there are no face shots of Mia in this dress? I was battling a major tantrum!

Oil Cleansing Method


While playing on pinterest I cam across a link to the oil cleansing method. I am always on the look out for cheaper and more natural ways to keep my face clean, and have tried a few already. A while back I came up with a concoction that had lots of ingredients in it including rolled oats and honey. It worked OK but left the bathroom looking like it had been smeared in porridge!

I have sensitive skin with patches of rosacea (thanks Mum) and it can be both dry and oily in different parts. I find that scented products, or ones with lots of chemicals in them are not good, so prefer to either buy or make very natural products. So I thought I would try this one!

Basically the oil cleansing method uses a combination of olive and castor oil (the drier your skin the more olive, the more oily the more castor) that you stroke onto your face, then steam and wipe off with a hot flannel. I bought organic high quality oils as I was putting it on my face! I have been using it for a couple of weeks now and it is working fine. No break outs, the little red patches are a lot better than they would be with supermarket cleansers and you don't need moisturiser and only need to do it once a day! I am also using a combination of witch hazel and apple cider vinegar (half and half) as a toner. Together the oil and toner get rid of any make-up, although I use watered down baby shampoo to clean off any eye makeup.

I will give you an update after I have been using it a bit longer, but seems to be working fine at the moment!

Saturday, October 8, 2011

Felt Cookies

This is the felt project that Mia has been nagging me to make, cookies! After finding inspiration from pictures on pinterest I decided I would make a "cookie baking" set, with the cookies cut out of "dough" and uncooked, and then the same cookies finished with icing and sprinkles so that she could pretend that she was completing the baking process.

Here is how to do it:

You will need: Light brown felt, medium brown felt, brown cotton, beads for sprinkles that can be sewn on, felt for icing (I used pale pink) and matching thread.

1. Cut out a "dough" shape from the light brown felt. Take 1 or more cookie cutters and trace around them onto the shape. Cut them out so that they can be removed from the dough. These are your unbaked cookies ready to go into the oven!


2. Cut out an icing shape for each completed cookie, using the cookie cutters. Cut out 2 medium brown felt shapes for each finished cookie, but make them bigger than the cutters as shown below. I did this because cookies get bigger when you cook them in the oven!

3. Sew the icing shape onto the top medium brown felt shape. Sew the sprinkle (beads) on. Sew the 2 medium brown shapes together for each cookie. They look yummy!

Yes there is a "well done" cookie on this plate, I ran out of the first colour of felt! And the strangely arranged sprinkles on one of the hearts are supposed to say "Mia"!


I don't think there will be too much KCWC sewing going on here today - baby up half the night and sick, tired Mummy! I will try to at least do something!

Thursday, October 6, 2011

Dolls' nappies (diapers)

KCWC turned a bit to custard at the end of the week as my overlocker ran out of thread and I haven't had a chance to buy some more yet! I have half finished matching dresses for my girls that I will share over the next few days when I finish them. Instead I found a couple of little projects that are not kids clothing, but still worthy of sharing I think. The first are very quick and simple felt nappies, the second is an owl tag toy that I am very happy with and will share tomorrow.

I love felt! Such an easy fabric to work with. No hemming and almost indestructible for kids! A really quick way to make nappies for dolls (or other toys) is to use felt. They won't fit perfectly or be streamlined under their clothes, but they are easy for little hands to put on and off and are very quick and easy to make.

You will need: Felt, hook and loop tape (also called "velcro" sometimes), thread

1. Firstly you will need to make a pattern for the toy that you are making the nappy for. I used some baking paper and kept trimming and extending it until it fitted "buba" the doll. Once you have the pattern you can use it over and over again. Your pattern should be shaped like this:


2. You then need to cut one of more outlines from felt from your pattern.


3. You then need to sew hook and loop tape onto your nappy as shown below. It doesn't really matter which goes where, hook or loop, just as long as you have both and don't use the same one in both places! You will need one kind in the centre and the other kinds on both the "arm" bits that stick out.


4. Put the nappy on the doll! It's as simple as that!


Felt Carrots

Today I wanted to do something quick to add to the felt food collection,so decided on carrots.

You will need: Orange felt, green felt, stuffing (I used wool) and orange thread

1. For each carrot cut out a matching front and back from orange. I made 4 carrots.


2. For each carrot you will need a square of green to make the greenery for the top out of.


3. Roll the square up and pin it closed.

4. Remember those paper trees you made when you were a kid? Well you need to do eaxctly the same to your roll of green felt, cut it down about three quarters of the way. Cut three equally spaced lines around your felt so that it fans out.


5. Place the greenery inside the carrot and pin around the outside.


6. Stitch around the edges with orange using the sewing machine and leaving a space to put stuffing into. Stuff it.


7. Hand stitch the opening closed with orange thread.

Wednesday, October 5, 2011

Sew Sweet Patterns

Not much sewing happened yesterday, had to have a catch up nap. Will probably have to have one today too! But here are some things I PLAN to sew!

I have far more girls' patterns than I could possibly use, so of course I had to buy more! I came across Sew Sweet Patterns on etsy and was impressed with both their range of patterns, and the range of sizes (6 months to 6 years) for each pattern. I have wanted to buy some for a while, and finally did yesterday. I received the PDF files by email yesterday and am excited to make them. Here is what I ordered:

Saffron Romper Pattern
I am excited to be making rompers for my girls and also some friends this summer. So cute! They aren't made yet, but they will be. I am imagining yellow polka dots for Mia (Ellie already has a yellow romper so not sure if I will make her one) and gingham and cherries for a friends' twins!


Janey Peasant Dress


Mia is is need of a between seasons dress so I am looking forward to making this, plus on all the blogs I read they are always making peasant dresses and tops so I am thinking this may be a go to pattern.


Sassy Pleated Skirt


Probably won't use this one until next winter but I am thinking matching wool skirts for my girls.


Will let you know how the patterns go.

Tuesday, October 4, 2011

Christmas Ornament Swap

I know that Christmas is still a few weeks away, but if you are going to be creative and avoid pulling an all-nighter on Christmas Eve (I remember my aunty doing that!), you have to plan ahead! So I am going to propose a Christmas ornament swap!

The details:

Participants will be put into groups of 6 people, and you will "swap" ornaments. That means making 6 handmade ornaments, one for yourself, and one for each of the other members of your group. You will be given the postage details of the others in your group and be expected to post them an ornament by the end of November. You should end up with 6 beautiful handmade ornaments for your tree!

How to register:

Email me at sarajspeight(at)yahoo(dot)co(dot)nz. Give me your name, email address and postage details. Check in on my blog regularly as well as Holly Made and A Green (And Sometimes Blue) Life for inspiration. You will need to register by the 1st of November.

What to make:

There are soooo many choices. Below I have listed some "catergories" you may wish to draw inspiration from, as well as a few pictures and links. You may also wish to check out my pinterest christmas board .


From nature:

Twig stars from A foothill home companion:

Michelle Made Me:


Wool:


Crochet snowflakes from Coats Crafts:


Christopher and Tia:


Sewing:


Simple Hearts from Epherial design


Felt owls from Juicy Bits:

Little Birds from Stumbles and Stitches:

Jingle mouse from Pimpstitch:

Snowfish on etsy:


Paper crafts:


Musical stars from Better Homes and Gardens


Christmas Baubles from Homemade Gifts made easy


Please, please, please email me a photo of your decorations so that I can share them with everyone in December after the swap has finished. I am really looking forward to seeing what everyone makes!


Monday, October 3, 2011

Felt animal mask tutorial

So here is another felt tutorial, but it is a bit of a break from the food I have been making. The inspiration for this project started from a conversation I had with Mia before she went to daycare yesterday.

"Mum can you please make me a Pepa Pig mask today?" (Mia)


"I guess so" (Me) "Yes I am sure that I can" (as I realised that this could potentially be quite a fun project!)

Pretending to be an animal is big with Mia at the moment. We have Whiskers the cat, Wuffy the dog and most recently the whole family has to pretend to be Pepa Pig's family. This latest role play was inspired by her being plonked in front of youtube watching Pepa Pig clips while Nathan "babysat" while the All Blacks were playing. Nathan thinks Daddy Pig is hilarious (he is actually, completely clueless as many father cartoon figures are) so plays along with it. Ellie has to be her little brother George and pretend to be obsessed with dinosaurs (as much as a 7 month old can pretend) and I have to be Mummy Pig who sorts out all Daddy Pig's mistakes (quite like real life really!)

So while Mia was at daycare and Ellie asleep I decided to make each of these 3 characters a mask.

Pig mask

You will need: Pink felt, elastic, pink thread, black felt

These are the pieces you will need to cut out: Front and back mask panels, nose and 2 ears (from pink) and 2 black nostrils


Sew nostrils to the nose. Sew the ears onto the front of the back mask panel.


Cut elastic to fit around the child's head. Sew ends of elastic to front of back mask panel.


Top stitch the 2 mask panels together around the edges. Top stitch the nose onto the mask. You can also top stitch around the edges of the ears if you like.


Here's Pepa:


Cat mask


You will need: Black felt, pink felt, elastic, black thread


Cut out: 2 mask panels and 2 ears from black felt, a pink nose.


Follow exactly the same process as you did with the pig mask.


Dog Mask


You will need: Brown felt, elastic, brown thread, black felt


Cut out: 2 mask panels, 2 ears from brown felt. Black nose.


Follow exactly the same process as you did with the pig mask.


Wuffy the dog: